(For more info, check out part 1 and part 2)
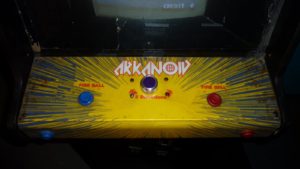
With the electronics mostly taken care of and warm weather and free time available in abundance, I set out to clean up the physical aspects of the machine, starting with the control panel. Here’s what I was working with:
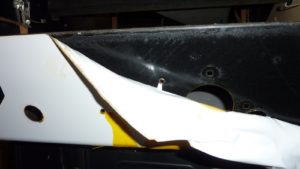
Definitely modified, but to what extent? Well, first I had to get that old CPO off. Using my version of a heat gun (a travel-sized hair dryer), I was able to lift off the sticker with only a few tears.
However, that left a lot of goopy stuff behind. Using copious amounts of Goo-Gone and a scraper, I set out to remove as much residue as possible before sanding to prevent my sander from getting clogged up.
That pile of off-white stuff on the right side is all goop.
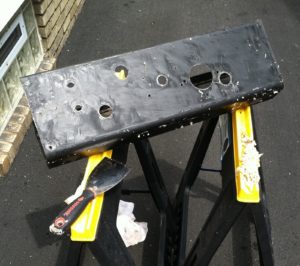
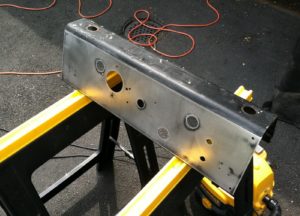
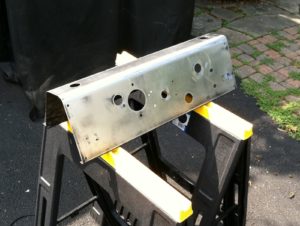
I then took an orbital sander to all the exterior of the CP. Doing the sides was a little weird, but basically I just rotated the piece around on top of some sawhorses:
When I was done, I had a nice shiny piece of metal!
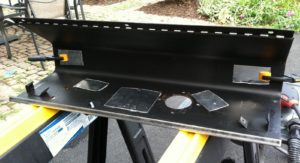
Now, to address some of those extra holes… this was clearly the original control panel from a Centipede machine, but extra holes were added when it was converted to Arkanoid. This was my first time dealing with a modified control panel, but thankfully I found a lot of advice on the KLOV forums. I picked up some JB Weld and a piece of sheet aluminum to cover up the holes from the inside and act as a base for the Bondo which would be applied later.
I cut the aluminum using tin snips, which was nice and easy, but also led to some bleeding fingers that somehow I didn’t even notice until the blood had dried.
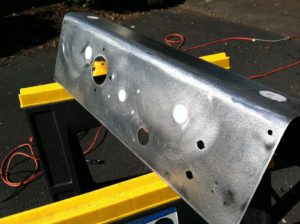
Once the JB weld had set, I put some Bondo on the exterior of the CP, filling in all the unnecessary holes, using the sheet metal pieces as backing for support.
I like to give Bondo a full 24 hours to set before sanding it. I might not be using enough hardener, but it seems if I sand it the same day, it’s still a little bit soft. So after waiting for it to set, I sanded off the excess, and had a much less holey control panel!
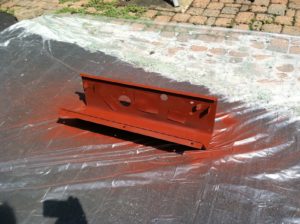
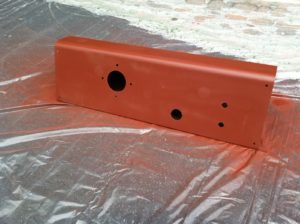
With a smooth surface prepared, I set out covering it with red Rust-Oleum Professional Primer. I did both the inside and the outside, to prevent against potential future rusting.
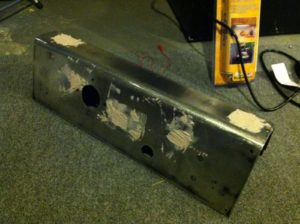
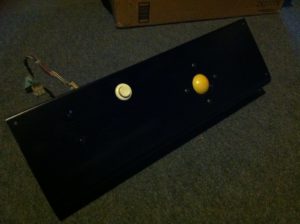
With the primer set, I decided to lay down a coat of black paint, in case the CPO doesn’t cover the entire control panel and/or the CPO peels away… hopefully many, many years from now! For this, I used Rustoleum Satin black – nice and smooth.
(Sorry about the poor lighting – I forgot to take pictures of this step, so I had to snap a pic in my basement!)
Next up: Cab work.
Continued in part 4.
