(For background info, check out part 1, part 2, part 3, part 4, and part 5)
Nearing the home stretch, I cleaned up the metal parts of the exterior. I sanded and re-painted the marquee brackets and the coin door with Rust-Oleum Hammered Black spray. I also decided to clean up and repaint the visible metal bolts, giving them a lemon juice bath to remove rust and debris, followed by sanding their hands and spraying the heads with satin black paint. I sprayed just the heads by pushing them through a piece of cardboard so they looked a little bit like mushrooms.
A few other minor things: I replaced the fluorescent light assembly with a simple under-cabinet light from Home Depot (no, it’s not “original,” but it’s a lot cheaper and easier to replace, and it’s not even visible). I replaced all the caps on the monitor chassis with a cap kit from Phoenix Arcade. I applied the CPO to the control panel (using techniques similar to the side art – taping, removing a little bit of backing, then applying).
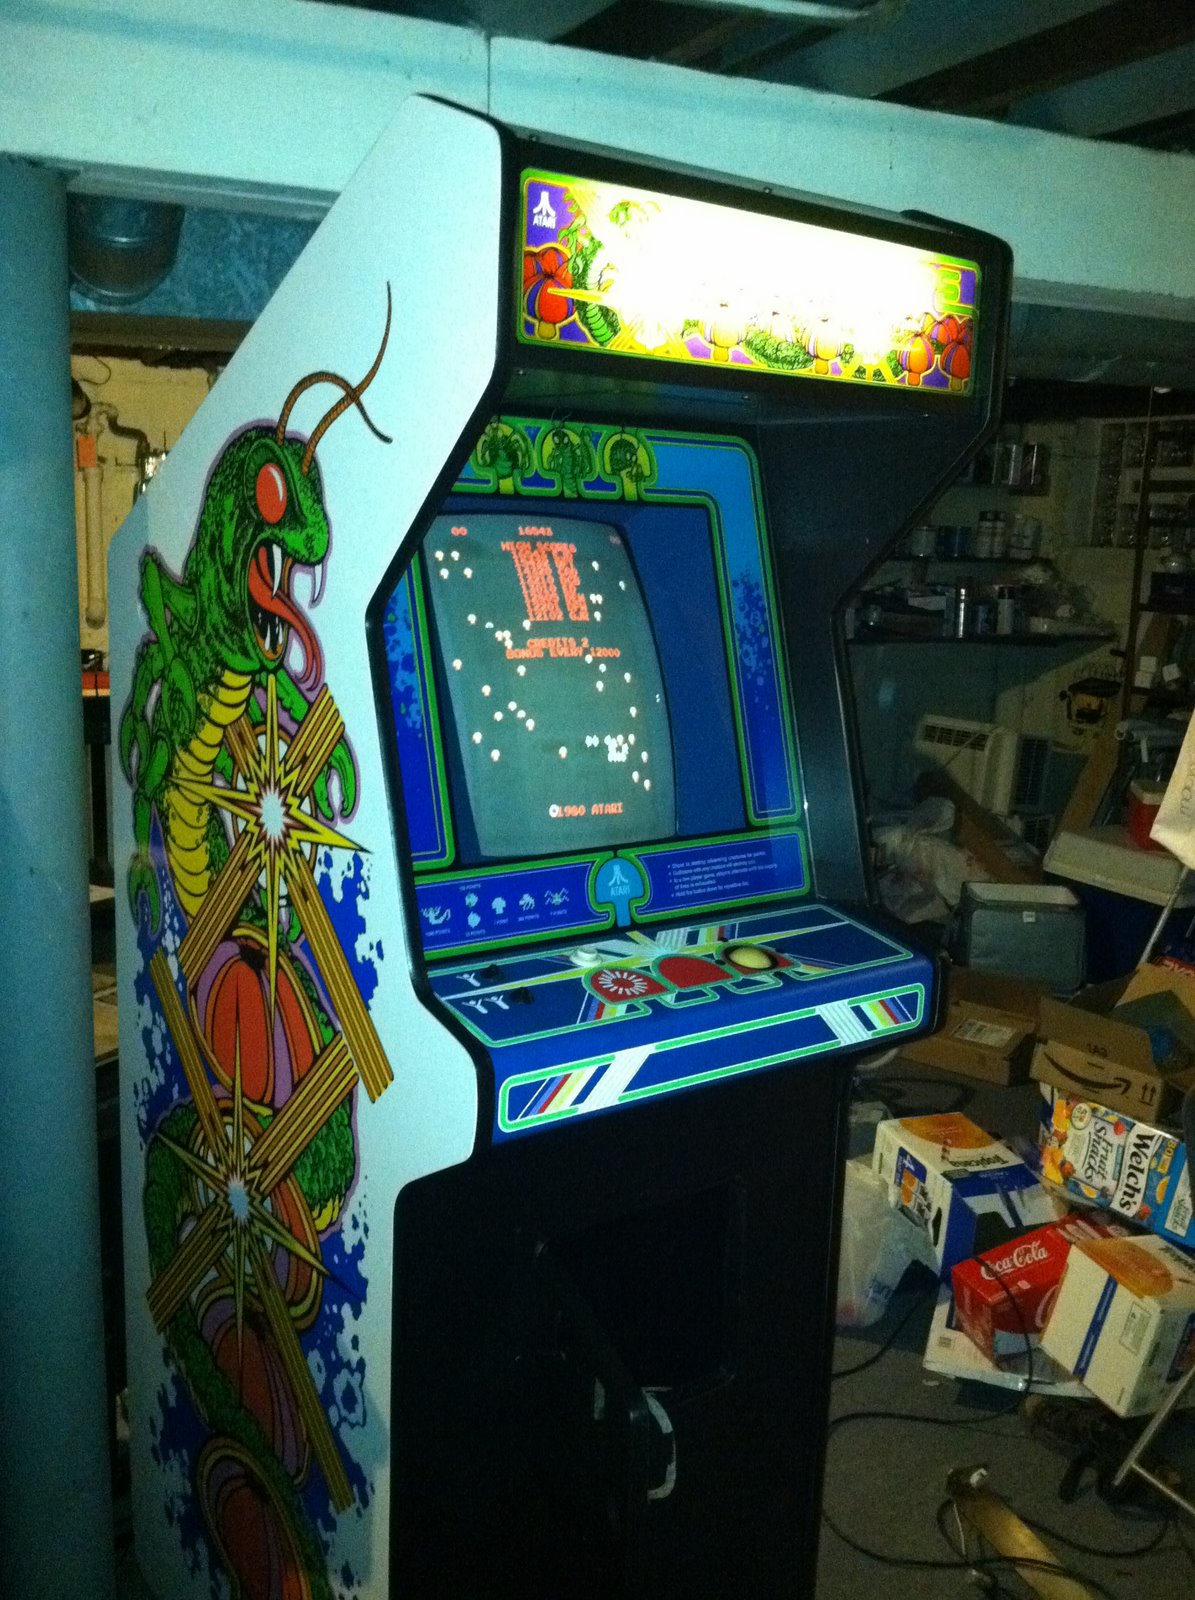
I put everything back in the cabinet, including the new plexi bezel from Phoenix, the used (but great condition) marquee. I FaceTime’d with my wife so that she could dial 911 in case I got electrocuted, crossed my fingers, and turned the machine on. Success!
Sort of.
After about 30 seconds, the machine made some funny noises and reset. Weird. Then I noticed a pungent smell. Also weird. Then I looked around back of the cabinet, and saw smoke. Uh oh.
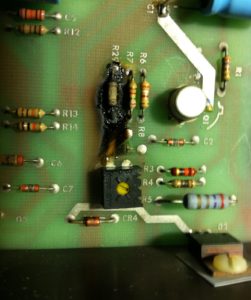
I unplugged everything, and discovered a resistor (R29) had blown up on the AR/2 board. R30 was also looking a little puffed out. Apparently this was related to the “SENSE” feature of the AR/2 – some large amount of electricity was not being properly routed, and it blew up the resistor. Luckily this is a very cheap component to replace, but blowing up would seem to indicate another problem. I did a bit of reading, and found some people suggesting jumping some wires to completely avoid that resistor, which seemed a little… dodgy.
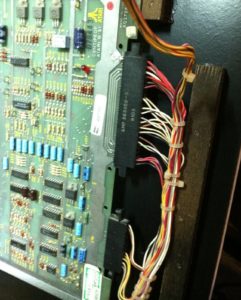
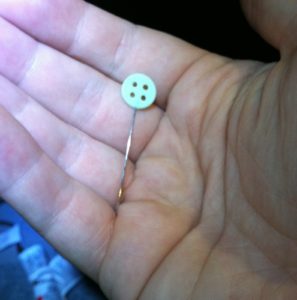
I found others recommending the root of the problem be addressed, which sounded much better! One person suggested thoroughly cleaning the contacts of the edge connector on the printed circuit board (PCB) using a pencil eraser and rubbing alcohol. I also felt that the harness was not sufficiently tightly gripping the PCB, so I used a pin to pull the contacts toward the center.
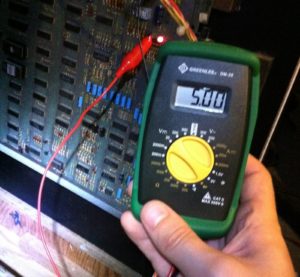
With these two changes made, I decided to test continuity through the wiring and found the resistance to be really low (which is a good thing). I cautiously powered back on, checked the voltage on various test pins of the PCB, and it was muuuuuch better. While I was watching voltage, I decided now was as good a time as any to adjust the +5V pot on the AR/2 to get it spot on at 5.00V.
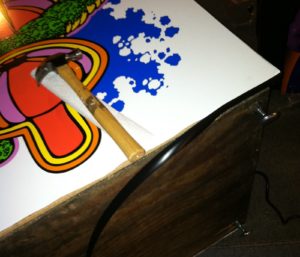
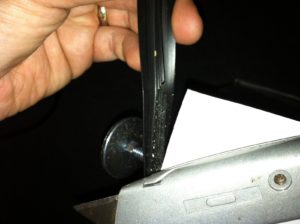
With the contacts cleaned and tightened, the game worked like a champ! Just a few more things left. T-molding (using a utility knife, hammer, and a shim wrapped in a paper towel):
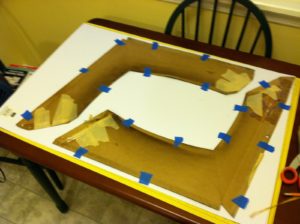
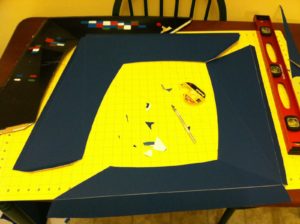
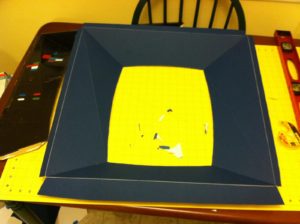
Cutting a new cardboard bezel. I picked up some blue matboard from Michael’s that was large enough. Special thanks to my Mom for supplying me with a 40% off coupon. 🙂
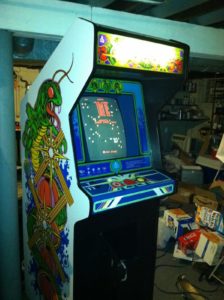
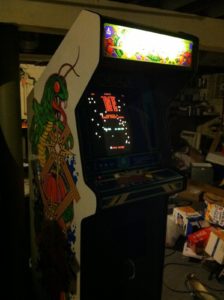
Put the whole thing together, and you’ve got something wonderful (with flash to show the pretty bezels, and without to see what it actually looks like):
All that’s left is fixing up the coin mechs, coin return buttons, and whatnot, but that’s not a huge priority right now, so I’m calling this one as good as done. 🙂
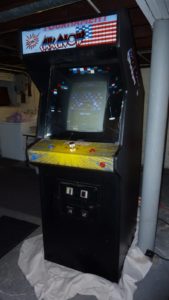
Here’s a reminder of what I started with:
