(For background info, check out part 1, part 2, and part 3)
After enough dilly-dallying, it was time for me to finally get this cab cleaned up. Although I had a good-looking set of side art, I was first interested in seeing if the original art could be salvaged from underneath the paint. In retrospect, this was pretty foolish of me, as it was only major scratches in the black paint that even let me know the side art was still under there, but it at least explains my next steps.
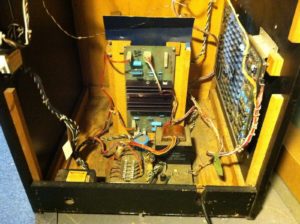
Before moving the cab outside for work, I took copious pictures of the inside of the cabinet. I’m sure I could figure things out from schematics, but I’m a visual person, and it’s so easy to just take out my phone and snap some shots! The only tricky thing is making sure there’s enough light – I use a combination of clamp-on utility lights, a handheld utility light, and my phone’s flash.
With the pictures taken, I proceeded to remove all the electronics from inside the cab, putting all the nuts, bults, and screws in labeled plastic bags. With everything out, the cab is significantly lighter, so I decided to try to get it up the stairs by myself. Bad idea. “Lighter” does not mean “light.”
After much cursing and denting of the walls, I realized that I would not be able to get the thing out of the basement by myself with the simple hand truck that was in my possession. I went to Harbor Freight and picked up their cheapest appliance hand truck, with stair rollers on the back! On attempt #2, I made it up the stairs and out the door, all by my lonesome!
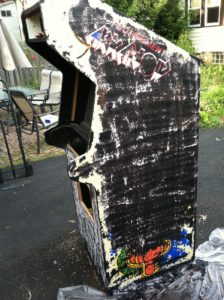
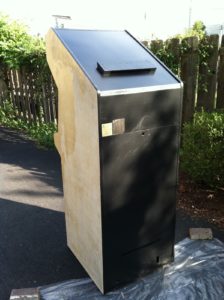
Remember how I mentioned that I was hoping to salvage the art underneath the paint? That’s what led me to use Citristrip Aerosol all over the outside of the cab. Knowing what I know now, I don’t think I’ll ever do this again – one can did not have enough in it to evenly coat both sides of the cab, and what little I did have covered didn’t seem much easier to remove than the parts that didn’t. Here’s a shot showing some of the parts that did come away after spraying:
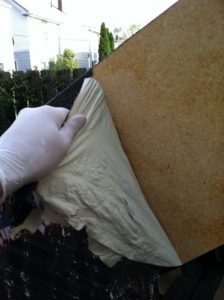
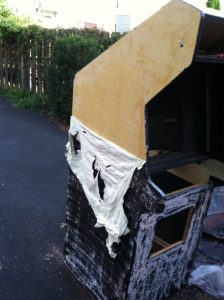
The middle was quite difficult to remove the paint. After battling with this for way too long, I finally gave up and decided to just peel away the original side art.
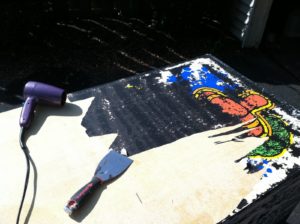
It comes off a little like wallpaper. In the pics above, you an see it got pretty wrinkly – that was a combination of the sun and the Citristrip, I think. Around the halfway point, it started getting dark out, and it got much more difficult to pull away, so I called it quits for the night.
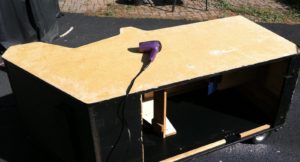
The next day, I got smarter. I used a hair dryer to heat up the artwork, and it come off much, much easier! One side complete:
I also used a paint scraper to help lift up the stuff. My fingertips were pretty raw by the end.
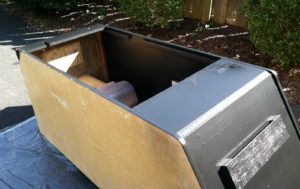
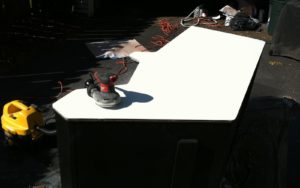
With the sides bare, it was time to do some painting. I started with the black for the front and back. I don’t really recall my reasoning for starting here, and for future projects with full side art, I’ll probably do this in reverse order. I made sure to tape off the original Atari stickers just above the back door, and then had at it with my HVLP sprayer (also from Harbor Freight). I used close to a 1:1 mixture of water to black paint, and it came out a pretty nice consistency. I did not use primer on the back, as it was just spraying over existing paint that had been sanded down.
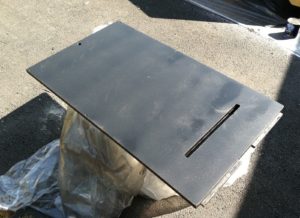
The scuffs you see in the pic above are from where I forgot to change the grit of my orbital sander before sanding. Since it’s the back, I didn’t really care all that much, and just left it as is rather than sanding down everything and re-painting. I also sprayed the back door:
And here’s the rear after painting:
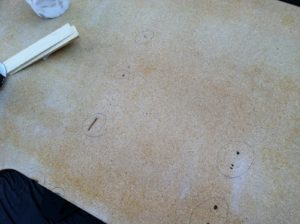
A couple days later, I got a chance to work on the sides. These were in pretty bad shape: lots of scratches and chunks missing. I started on the nicer-looking side, circling all the problems with a pencil. This lets me get the Bondo put on efficiently, without having to hunt around for additional holes while it hardens.
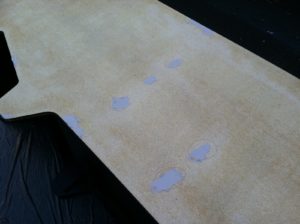
Then it was just a matter of mixing up some Bondo and filling things in. My Bondo skills weren’t that great when I started this project, but I think I’m finally getting the hang of it and not using too much any more!
I decided to paint the sides with white primer before applying the side art. This was partly because the stickers are just a little bit transparent, and also because it acts as a sealant against any potential damage. I used Zinsser B-I-N primer.
Once the Bondo was set, it was just a matter of sanding with 60 grit, then 120 grit, then 220 grit to get things nice and smooth. I also made sure to wipe everything down pretty good before spraying. I put 3 coats or so on, then sanded with 220 grit to give it a smooth finish.
I thought I took some pictures of this in progress, but I can’t seem to find them. Sorry!
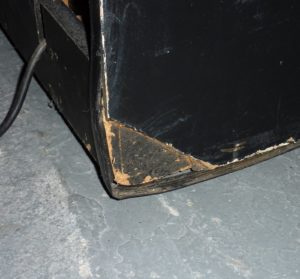
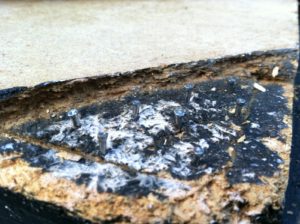
The other side presented a more interesting challenge:a big chunk missing from the bottom rear corner of the cabinet:
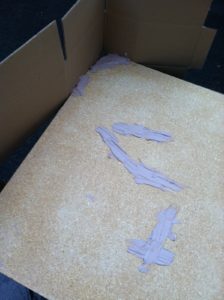
Since there was still a decent amount of “base” wood there, I decided to build up the corner using Bondo. I read about some different techniques for doing this, and several people suggested using finishing nails pounded into the good wood and using them like rebar for the Bondo.
I put a cardboard box around the corner to help me form a good angle.
It took a couple layers to get it built up to enough height, but it seems pretty solid!
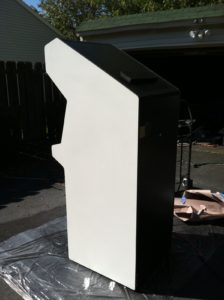
Same process for this side as far as painting is concerned. Here’s the primed and sanded side:
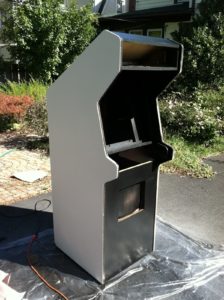
And here are a couple shots before I moved everything back indoors:
And with that, I carefully rolled the cabinet back down into the basement where I would apply the side art!
Continued in part 5.
